
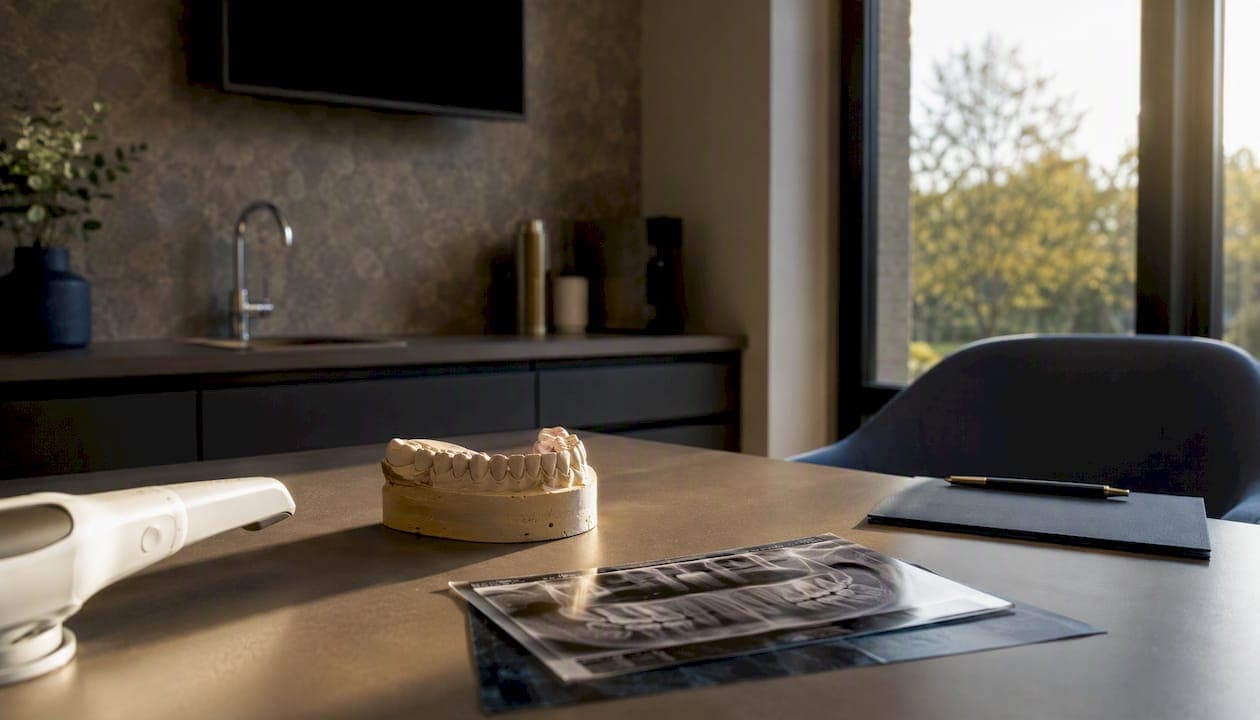
Before your veneer consultation, do these five things: gather your most recent dental X-rays or ask your current dentist how to transfer them; stop using whitening strips or heavy staining foods at least one week out so shade selection reads accurately; write down your smile goals and bring reference photos of smiles you actually like; list every medication, supplement, and any habits like grinding or clenching; and write out your questions before you walk in the door. A prepared patient gets a better clinical result. Here is exactly what to expect and how to make the most of every minute.
- Bring recent dental X-rays or request a records transfer from your current dentist
- Stop whitening strips and avoid heavy staining foods 1–2 weeks before the visit
- Collect reference photos of smiles you find appealing (celebrities, friends, magazine clippings)
- Write a list of medications, supplements, and any known sensitivity or grinding habits
- Prepare questions about materials, timeline, costs, and what happens if a veneer chips
- Be ready to discuss your budget range openly so the dentist can tailor the treatment plan
Key Takeaways
A prepared patient gets a more accurate diagnosis, a cleaner lab communication, and a final result that needs fewer revisions.
| Point | Details |
|---|---|
| Bring records and goals | Carry recent X-rays and reference photos to every consult so the clinical evaluation starts with real data. |
| Expect a 60–90 minute visit | A thorough consult includes X-rays, photos, scans, bite analysis, and a diagnostic wax-up, not just a price quote. |
| Ask about mock-ups and temporaries | Confirm a wax-up or digital mock-up is planned before any tooth is touched, and use temporaries to test fit and phonetics. |
| Plan finances before you commit | Consultation fees typically run $100–$350 and are often credited toward treatment; get a written cost breakdown. |
| CWD Dental Group | Offers diagnostic-first veneer consultations in Tallahassee with written treatment plans, mock-up previews, and temporization before final bonding. |
Table of Contents
- What actually happens during a veneer consultation, step by step
- High-value questions to ask at your veneer consultation
- Day-of consultation: practical and mental prep
- How veneer materials, shade, and shape are actually chosen
- Tooth preparation, temporaries, and what to expect physically
- What happens after the consultation: timeline, costs, and next steps
- How CWD Dental Group prepares you for veneers
- Why preparation makes a measurable difference in your outcome
- Ready to book a patient-centered veneer consultation?
- Sources
What actually happens during a veneer consultation, step by step
A proper veneer consultation is a clinical evaluation, not a sales presentation. Expect it to run 60–90 minutes. If a practice quotes you a price in ten minutes and hands you a brochure, that is not a diagnostic consult.
The appointment follows a predictable sequence. It starts with records collection: full-mouth or targeted X-rays, intraoral photographs, and either a digital scan or physical impressions of your teeth and bite. Some practices also use CBCT (cone beam CT) imaging for cases involving significant bite changes or implant planning. Digital 3D scans increase diagnostic accuracy and improve how well the dentist can communicate the plan to both you and the dental lab.
Next comes the clinical exam itself. The dentist checks periodontal (gum) health through probing, looks for decay or failing restorations, assesses how much enamel you have available, and evaluates your bite and jaw function. This step is where candidacy is actually determined. Veneers are appropriate for correcting color, shape, and minor alignment issues, but candidacy depends on enamel thickness, gum health, bite, and functional habits like grinding. If any of those factors are problematic, the dentist should discuss them before any treatment plan is written.
The final phase of the consult is diagnostic planning. This is where a diagnostic wax-up or digital mock-up is created or ordered, material options are discussed, and you receive a written treatment plan with a timeline and cost breakdown.
A thorough veneer consultation should include X-rays, photographs, impressions or digital scans, a bite analysis, and a diagnostic wax-up. Consultation fees usually have a modest cost and are often credited toward treatment if you move forward.
Understanding why a smile consultation covers all these steps helps you evaluate whether the office you visit is running a thorough process or cutting corners.
High-value questions to ask at your veneer consultation
Ask about diagnostics, clinical experience, and the full sequence of care before you agree to anything. The answers tell you whether the practice treats veneers as a commodity or as a precision procedure.
Bring this list with you:
- How many veneer cases do you complete each year, and can I see real before-and-after photos of cases similar to mine (not stock images)?
- What material do you recommend for my case, and why? Porcelain, pressed ceramic, layered feldspathic, or direct composite each have different strength and translucency profiles.
- Will a diagnostic wax-up or digital mock-up be done before any tooth is touched? If the answer is no, ask why.
- How is my bite evaluated and protected throughout the process? This matters especially if you grind.
- What will my temporaries look like and feel like? Ask how long you will wear them and what the adjustment process involves.
- What is the warranty or repair policy if a veneer chips or debonds?
- What financing options are available, and will I receive a written cost breakdown?
Red flags to listen for: no mention of X-rays, a quoted price before any exam is done, no plan for a wax-up or mock-up, and vague answers about who fabricates the veneers (in-house milling vs. an outside dental lab matters for quality control).
Pro Tip: Ask to see before-and-after cases that match your specific concern, whether that is discoloration, chipped edges, or spacing. A dentist confident in their work will show you real patient photos without hesitation.
Knowing the most common cosmetic dentistry mistakes patients make can sharpen the questions you ask and help you spot a rushed process before you commit.
Day-of consultation: practical and mental prep
Arrive with clean teeth, your written questions, and your records. That is the short version. Here is what that actually looks like in practice.
Brush and floss before you leave home, but skip any whitening products that morning. Shade selection is more accurate when your teeth are at their natural baseline color, not freshly treated with a peroxide strip. If you have been using whitening strips regularly, stopping a week or two before the appointment gives your enamel time to restabilize.
Bring printed or digital reference photos of smiles you like. These do not need to be elaborate. A screenshot from your phone works fine. What matters is that the dentist can see the shape, length, and brightness you are drawn to, rather than guessing from a verbal description.
Logistics matter too. Arrive 10–15 minutes early to complete any new-patient paperwork without rushing. Block out at least 90 minutes in your schedule. Expect a diagnostic fee at the visit; ask when you book whether it is credited toward treatment if you proceed. Come mentally prepared to discuss trade-offs openly: what you want aesthetically, what your budget allows, and what timeline works for your life.
How veneer materials, shade, and shape are actually chosen
Material choice is a clinical decision, not just a preference. The right material depends on how much tooth reduction is needed, the strength requirements of your bite, and the translucency you want in the final result.
The main material categories:
- High-strength pressed ceramics (such as lithium disilicate): excellent strength and good translucency; typically requires moderate preparation depth
- Layered feldspathic ceramics: the most lifelike optical quality, but more technique-sensitive and slightly more fragile; often used for cases where esthetics are the top priority
- Direct composite: placed chairside in one visit, no lab required, and the most conservative option; less durable long-term and more prone to staining than porcelain
- Ultrathin or no-prep veneers: minimal or no enamel removal; best suited for specific cases where teeth are already in a favorable position
Shade selection follows a specific sequence. If you plan to whiten your natural teeth, that step happens before shade is chosen for the veneers, because porcelain cannot be bleached after fabrication. Shade is evaluated under calibrated lighting, often with photography, and sometimes with digital shade-matching tools. The goal is a result that looks natural next to your surrounding teeth, not just bright in isolation.
Shape and the number of veneers are determined by your smile proportions, the width of your smile corridor (how many teeth show when you smile fully), your bite, and the diagnostic wax-up. The wax-up is a physical or digital model of the planned outcome. It lets you preview the shape before any tooth is touched.
Pro Tip: Temporaries and mock-ups are your safety net. Test how they feel when you speak, bite, and smile in natural light before you approve the final design. Adjustments at this stage cost nothing compared to revisions after final bonding.
For a broader look at how veneers compare to other cosmetic options, the types of cosmetic dental procedures guide covers the full range of choices worth discussing at your consult.
| Material type | Strength | Translucency | Prep depth needed | Best suited for |
|---|---|---|---|---|
| High-strength pressed ceramic | High | Good | Moderate | Most cases; strong bite load |
| Layered feldspathic ceramic | Moderate | Excellent | Moderate | Esthetic-priority cases |
| Direct composite | Moderate | Fair | Minimal to none | Budget-conscious; reversible |
| Ultrathin / no-prep ceramic | Moderate | Good | Minimal to none | Favorable tooth position |
Tooth preparation, temporaries, and what to expect physically
Veneer preparation is technique-sensitive. The goal is to remove just enough enamel to create space for the veneer without going deeper than necessary. Clinicians use depth-cutting burs and silicone index guides to control reduction precisely and avoid over-preparation.
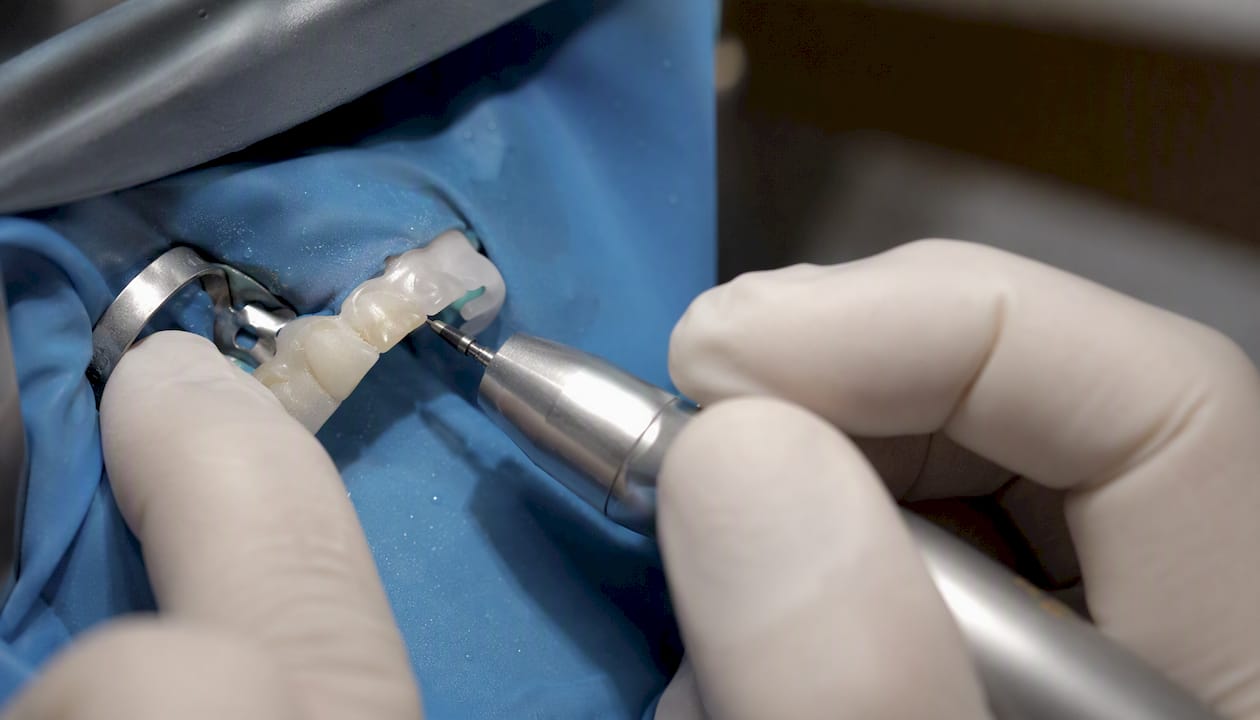
Preparation depth varies by case: minimal preparation removes about 0.5–0.7 mm, moderate preparation removes about 0.8–1.0 mm, and extensive preparation removes about 1.0–1.5 mm. Minimal prep preserves most of the enamel layer and is preferred when the tooth position and color allow it. Moderate prep allows more contour change. Extensive prep, which may reach dentin, is reserved for cases with significant color issues or structural changes needed.
What to expect physically during and after prep:
- Local anesthesia is used for preparation appointments; you should feel pressure but not pain
- Short-term sensitivity to temperature is common after prep and while wearing temporaries
- Temporaries are placed immediately after prep to protect the prepared teeth and test the planned shape
- Care during the temporary phase: avoid sticky or hard foods, use a soft toothbrush around the margins, and floss carefully without snapping through the contact
- Contact the office if a temporary comes off, feels significantly off in your bite, or causes sharp pain
Temporaries function as a test drive for fit, phonetics, and esthetics. If something about the shape or bite feels wrong, say so. That feedback goes directly to the lab before the final restorations are fabricated. Waiting until after final bonding to raise concerns is far more complicated.
What happens after the consultation: timeline, costs, and next steps
After the diagnostic consult, the typical sequence for a porcelain veneer case runs like this: address any pre-treatment needs first (decay, gum disease, or orthodontics if required), then approve the wax-up, then schedule the preparation and temporization appointment, wait 1–3 weeks for lab fabrication, and return for final bonding.
Typical timeline overview:
| Phase | What happens | Approximate timeframe |
|---|---|---|
| Pre-treatment | Treat decay, gum disease, or alignment issues | Weeks to months depending on needs |
| Wax-up approval | Review and approve the diagnostic mock-up | 1–2 weeks after consult |
| Prep and temporaries | Tooth reduction, impressions, temporaries placed | Single appointment |
| Lab fabrication | Dental lab creates final veneers | 1–3 weeks |
| Final bonding | Veneers cemented and bite verified | Single appointment |
Costs and insurance: Veneers are considered cosmetic in most cases, so dental insurance rarely covers them. Ask the office for a written cost breakdown that includes the consultation fee, preparation, lab fees, and bonding. Consultation fees typically run $100–$350 and are often credited toward treatment. Many practices offer third-party financing through plans that allow monthly payments.
Checklist before you book your next appointments:
- Confirm whether pre-treatment (fillings, cleanings, gum therapy) is needed before prep
- Ask about a nightguard if you grind, since grinding can fracture veneers over time
- Get the written treatment plan and cost estimate before signing anything
- Ask about the practice's repair or replacement policy in writing
For aftercare once veneers are placed, caring for veneers long-term means avoiding biting hard objects with veneered teeth, keeping up with regular cleanings, and wearing a nightguard if grinding is a factor.
How CWD Dental Group prepares you for veneers
CWD Dental Group approaches veneer consultations as diagnostic appointments first. Before any treatment plan is written, the team collects the full clinical picture: X-rays, intraoral photographs, a digital scan or impressions, and a bite analysis. That information drives the material recommendation and the timeline, not the other way around.
The practice's process includes:
- Diagnostic records at every consult: X-rays, photos, and digital scans or impressions taken before any recommendation is made
- Diagnostic mock-ups and wax-ups: patients preview the planned shape before any tooth preparation begins
- Written treatment plans: costs, timeline, and material choices documented in writing
- Temporization protocol: temporaries are placed after prep so patients can test fit, phonetics, and esthetics before final bonding
- Informed consent: alternatives to veneers, including dental bonding and other conservative options, are discussed at the consult so patients understand the full range of choices
High-quality veneer assessment includes a complete history and exam, diagnostic records, and a discussion of alternatives and realistic outcomes. That is the standard CWD Dental Group holds its consultations to.
The practice also offers same-day emergency appointments, which matters if a temporary veneer comes loose or causes discomfort between scheduled visits.
Why preparation makes a measurable difference in your outcome
Patients who arrive at a veneer consultation with records, clear goals, and realistic expectations consistently get better-fitting, longer-lasting results. That is not a platitude. It is a direct consequence of how the clinical process works.
When a dentist has your previous X-rays and knows your grinding history before the exam starts, the clinical evaluation takes less time and covers more ground. When you arrive with reference photos, the shade and shape conversation becomes specific rather than abstract, and the lab receives clearer instructions. When you have tested your temporaries carefully and given honest feedback, the final restorations need fewer adjustments.
The patients who end up dissatisfied with veneers are usually the ones who felt rushed through the consult, skipped the wax-up phase, or were not told clearly what the temporaries were for. A second opinion is worth getting if anything about the consultation feels transactional rather than diagnostic. A good clinician will not be offended by that request.
Ready to book a patient-centered veneer consultation?
CWD Dental Group offers veneer consultations built around the diagnostic process described in this guide: records first, mock-up preview before any prep, clear written pricing, and a temporization protocol that lets you test the result before it is permanent.
When you book with CWD Dental Group, bring your printed question checklist, any recent dental X-rays, and your reference photos. The team will walk you through material options, shade selection, and the full timeline at the appointment. If you have a dental concern that needs attention before veneers can begin, the practice handles that too, including same-day emergency care when something comes up between visits.
To schedule your consultation, visit Cwddentalgroup and book directly online or by phone.
Sources
The following sources were used to build this guide and are worth bookmarking for deeper reading:
- Veneer Consultation: What to Expect | Veneers Authority
- Veneers | MouthHealthy (American Dental Association)
- Veneer Preparation and Temporization: Tips and Techniques
- A Complete Guide To Veneer Preparation - VTA Dental Lab
- Veneer preparation and temporization tips and techniques — Glidewell
This article is general information, not a substitute for advice from a qualified doctor. Consult a qualified healthcare professional about your own circumstances before acting on anything here.