
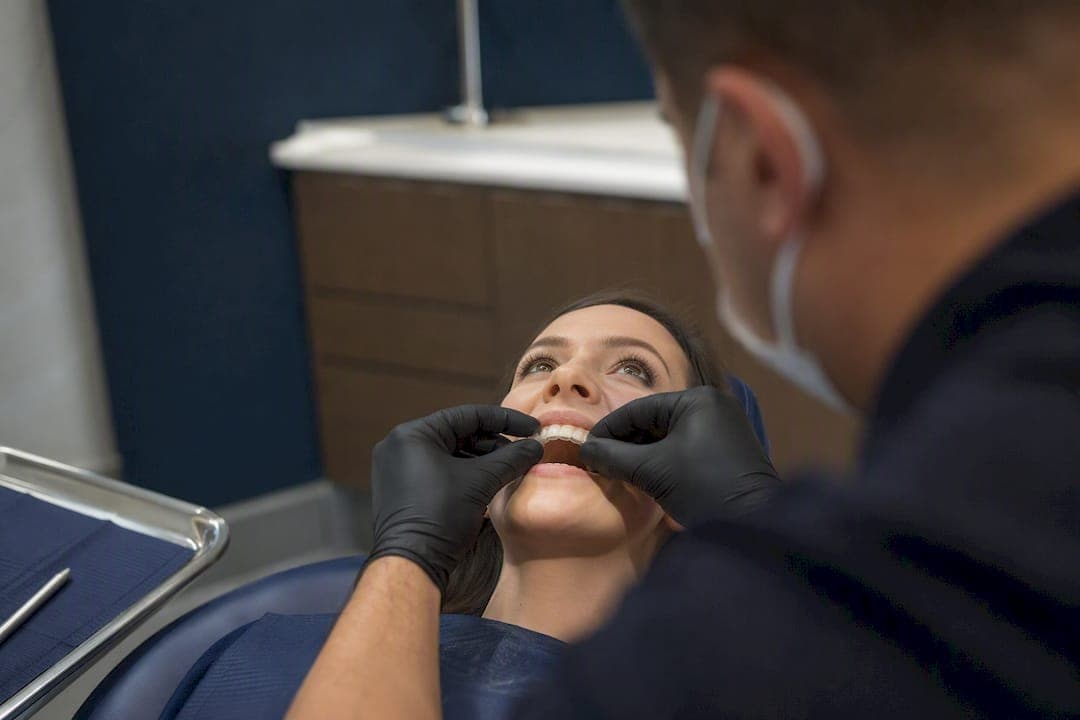
Invisalign attachments are small, tooth-colored composite bumps bonded to your teeth so clear aligners have something to grip. Without them, an aligner can only push evenly across a tooth's surface, which is not enough force for rotations, extrusions, or intrusions. Most adults need several attachments per arch, with the exact number depending on case complexity. They're barely noticeable in conversation, and they come off cleanly once your treatment plan is complete.
TL;DR:
- Most adult Invisalign cases require four to twelve attachments per arch, depending on the complexity of tooth movements needed.
- Attachments are bonded through a quick, painless process that takes about 30 to 45 minutes, with no numbing or discomfort.
- Different attachment shapes, such as rectangular or beveled, are engineered to direct specific forces for rotations, extrusions, or root tipping.
- Proper oral hygiene involves brushing after meals, flossing before reinserting aligners, and avoiding sticky or hard foods that can dislodge attachments.
- Attachments are removed with a quick polishing procedure at the end of treatment, leaving minimal or no visible marks on the teeth.
Table of Contents
- What Invisalign Attachments Are and How They Work
- Who Actually Needs Attachments, and How Many
- How Attachments Get Placed, Step by Step
- What Each Attachment Shape Is Actually Doing
- What to Expect Day to Day With Attachments
- Caring for Attachments Without Losing One
- Getting Attachments Removed at the End of Treatment
- Cwddentalgroup's Approach to Attachment Cases
- Attachments Aren't a Setback, They're the Point
- Ready to Start Invisalign With Cwddentalgroup?
- Sources
What Invisalign Attachments Are and How They Work
Attachments are built from composite resin, the same material dentists use for tooth-colored fillings, molded into small shapes and bonded directly onto the enamel. An aligner tray is designed with a matching cavity around each attachment. When you seat the tray, that cavity presses against the attachment from a specific angle, converting the simple squeezing pressure of the plastic into a directional push: rotational, vertical, or a combination of both.
None of this is guesswork. Your treatment gets mapped out digitally through Invisalign's ClinCheck software, and a lab determines exactly where each attachment sits and what shape it takes based on the specific movement your tooth needs to make. That's part of why SmartForce attachments work as reliably as they do. They aren't decorative. They're engineered handles.
Common shapes include:
- Rectangular attachments for bodily movement, pushing a tooth in one direction without tipping it
- Beveled attachments that turn simple seating pressure into rotational torque
- Optimized rotation attachments for teeth with rounder profiles, like canines, that need multi-directional control
- Vertical attachments shaped to pull a tooth down (extrusion) or seat it up into the socket (intrusion)
Who Actually Needs Attachments, and How Many
Not every tooth movement calls for one. Your provider adds attachments where the aligner alone can't generate enough force or the right direction of force, which usually means:
- Teeth that need to rotate, especially rounder ones like canines and premolars
- Teeth that need to move up or down in the socket (extrusion or intrusion)
- Root tipping, where the crown and root need to move at different rates
- Complex bite corrections involving multiple teeth moving in coordinated sequences
According to Limestone Hills Orthodontics, typical adult cases involve 4 to 12 attachments per arch, though the number climbs for more complicated corrections. Simple crowding cases might need only a few, while a full bite realignment could use attachments on nearly every visible tooth.
It's also common for your provider to add attachments partway through treatment. If a tooth is not tracking the way the digital plan predicted, a refinement scan can trigger a new set of aligners with attachments repositioned or added where they weren't needed before.
How Attachments Get Placed, Step by Step
Placement happens in a single appointment, and it's a lot less involved than it sounds.
- Your dentist cleans and dries the tooth surface, then applies an etching gel that roughens the enamel microscopically so the bonding agent has something to grip.
- A bonding agent is painted onto the etched spots.
- A template tray, essentially a custom aligner pre-loaded with composite resin in the exact shapes and positions your plan calls for, gets seated over your teeth.
- A curing light hardens the resin in seconds, and the template is peeled away, leaving the attachments bonded in place.
- Your dentist trims any excess resin flash and checks that your first aligner tray seats fully and comfortably over the new attachments.
The whole process, according to Invisalign's own patient resources, takes about 30 minutes, though more complex cases with many attachments can run closer to 45. There's no numbing needed and no discomfort during placement. You'll likely notice your tongue running over the new bumps for the first day or two simply because they're new, not because anything hurts.
Pro Tip: Write down your questions before this appointment. Once the template tray goes in, it's hard to talk, and you'll want to ask about attachment count, expected wear time, and what re-bonding looks like before the process starts, not after.
What Each Attachment Shape Is Actually Doing
The shape of an attachment isn't cosmetic. Each one is a small machine designed to redirect force in a specific way, and understanding the shapes helps explain why your treatment plan looks the way it does.
- Rectangular attachments sit flat against the tooth surface and create broad, even pressure. They're used for bodily movement, sliding a tooth sideways without tipping the crown or root disproportionately.
- Beveled attachments have an angled face. As the aligner seats, that angle diverts vertical pressure into a twisting force, which is exactly what's needed to correct a rotated tooth.
- Optimized rotation attachments go further, using a more complex geometry that applies force from multiple directions at once. These show up most often on canines and premolars, which have rounder cross-sections that resist simple rotation.
- Extrusion attachments are engineered to pull a tooth downward, out of the socket, useful when a tooth has erupted short of its neighbors.
- Intrusion attachments do the opposite, helping seat an overerupted tooth back up into the bone.
A single case often mixes several shapes. A canine might get an optimized rotation attachment while the incisor next to it gets a simple rectangular one, because each tooth is solving a different geometric problem. This is also why two patients with seemingly similar crowding can end up with very different attachment maps. It comes down to how each individual tooth needs to move, not just how crowded the arch looks overall.
What to Expect Day to Day With Attachments
Composite resin is tinted to match enamel, so attachments blend in at normal conversational distance. Most people won't notice them unless they're looking closely. Where they show up more is on video calls and close-up selfies, where lighting and camera angle can catch the slight texture on your teeth. It's worth knowing that going in, especially if you're on camera often for work.

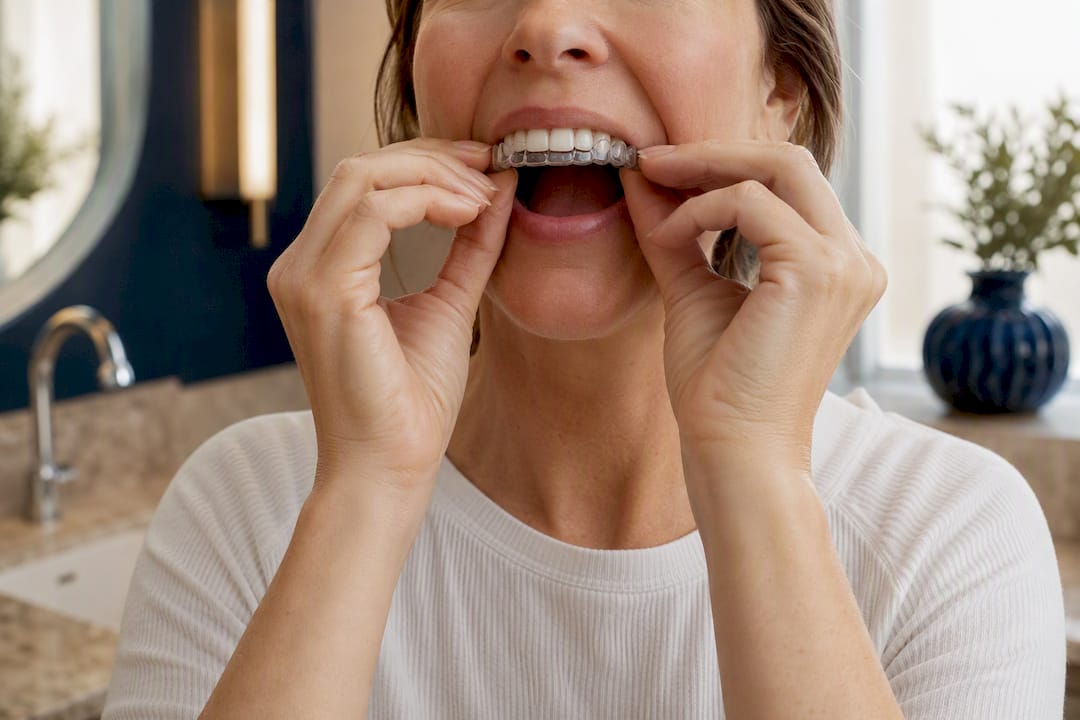
Your tongue will find every new bump for the first two or three days. That awareness fades as your mouth adjusts, usually within 48 to 72 hours. Aligners also feel different once attachments are in place. You'll notice a distinct snap as the tray seats over each one, and removal takes a slightly different technique. Start at the back molars and work forward rather than yanking from the front, which reduces stress on the attachments themselves.
Caring for Attachments Without Losing One
Attachments create more surface area where plaque and food particles can collect, so your hygiene routine needs to adjust slightly. Brush after every meal if you can, and floss before you put your aligners back in, not after.
- Use an interdental brush around attachment edges where a toothbrush bristle can't fully reach
- Cut back on coffee, red wine, and smoking, since composite resin stains more easily than natural enamel
- Avoid sticky candy, hard nuts, and ice chewing, all of which raise the odds of popping an attachment loose
- Never use your teeth as tools to open packaging or tear tags while attachments are in place
Pop-offs happen, and one falling off is not an emergency. Keep wearing your current aligner as scheduled and call your provider to get it re-bonded. According to Wax Orthodontics, staying on schedule with aligner wear matters more to your overall outcome than any single missing attachment, and re-bonding is a quick, routine fix.
Pro Tip: Do not attempt to glue an attachment back on yourself. Household adhesives aren't safe for your mouth, and an improperly placed attachment can throw off the force direction your plan depends on.
Getting Attachments Removed at the End of Treatment
Removal happens quickly, often within about 15 minutes, using a finishing bur that gently shaves away the composite. Your dentist follows with a polishing step that smooths the enamel surface back to its original texture.
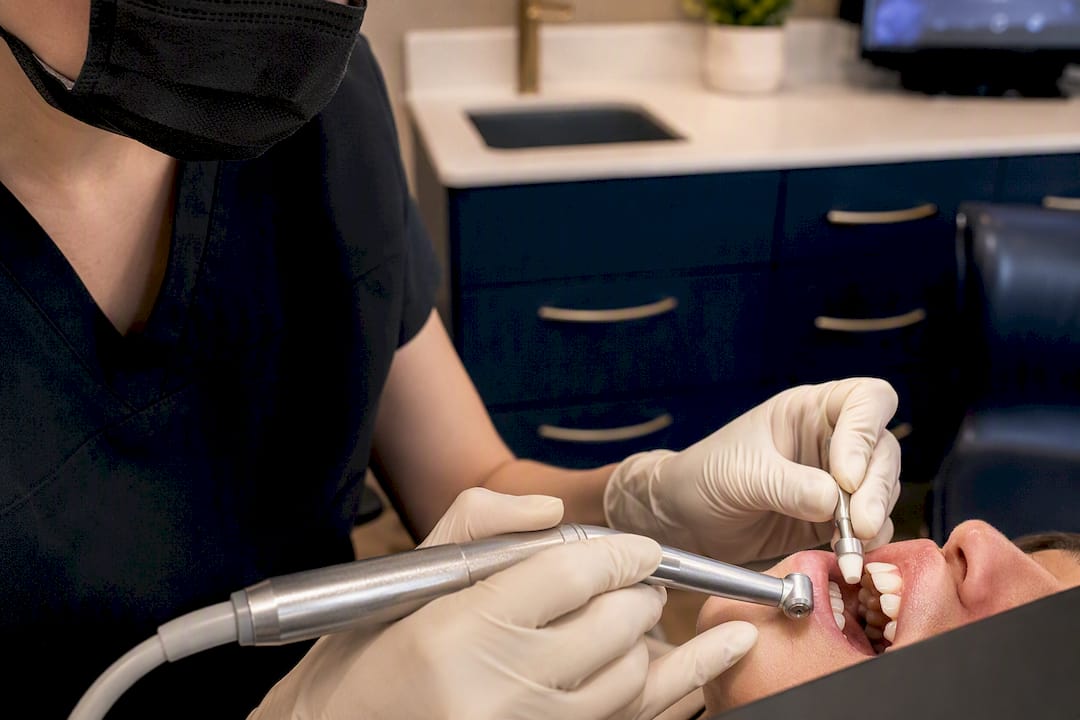
Most patients walk out with no visible marks where the attachments were. A small share of people notice minor surface roughness or slight discoloration afterward, which a quick polish or whitening treatment usually resolves. Immediately after removal, most providers take a digital scan for your retainers so there's no gap between finishing your aligners and protecting your new tooth positions. You'll get aftercare instructions on retainer wear at that same visit.
Cwddentalgroup's Approach to Attachment Cases
This piece was reviewed for clinical accuracy by Kayle. At Cwddentalgroup, every attachment case starts with digital treatment planning so patients see exactly where and why each attachment is placed before treatment begins. Because attachments occasionally pop off between scheduled visits, the practice keeps same-day appointment slots open specifically for re-bonding, so a loose attachment doesn't derail your aligner schedule while you wait for an opening. Refinement visits follow the same documented process as initial placement, keeping force direction consistent from start to finish.
Attachments Aren't a Setback, They're the Point
The biggest misconception I run into is that attachments mean your case is somehow harder or more embarrassing than a "simple" Invisalign case. That's backward. Attachments are what let aligners handle tooth movements that used to require traditional braces. If your provider recommends fewer of them, that's not a sign of a better plan. It just means your specific movements didn't need that extra grip.
The other myth worth killing: attachments are not braces in disguise. They don't lock your teeth to a wire, and they come off completely once treatment finishes. At your consult, ask directly how many attachments your plan calls for, whether that number could realistically be lower, and what the process looks like if one comes loose mid treatment. Then focus your energy on the thing that actually determines your outcome: wearing your aligners the full recommended hours per day. Attachment anxiety is common. Compliance is what moves your teeth.
— Kayle
Ready to Start Invisalign With Cwddentalgroup?
Cwddentalgroup handles the entire attachment lifecycle in one place: initial placement, mid-treatment refinements, and same-day re-bonding if one pops off between visits. That last part matters more than people expect. A loose attachment right before a big meeting or a wedding shouldn't mean waiting a week for an opening, and Cwddentalgroup's same-day emergency dental care exists specifically for situations like that.

Your first visit starts with a digital scan and a conversation about how many attachments your case realistically needs, not a generic number pulled from a brochure. Bring a list of questions, and check out this consultation prep guide if you want a head start on what to ask. If your plan later calls for refinement aligners, Cwddentalgroup repeats the same attachment mapping process to keep your treatment on track. Book a consultation to find out exactly what your smile needs, and how few or how many attachments it will actually take to get there.
This article is general information, not a substitute for advice from a qualified doctor. Consult a qualified healthcare professional about your own circumstances before acting on anything here.
Sources
- Invisalign
- Invisalign Attachments | Limestone Hills Orthodontics
- Invisalign Attachments: Benefits, Procedure, Care, and More | Healthline